 |
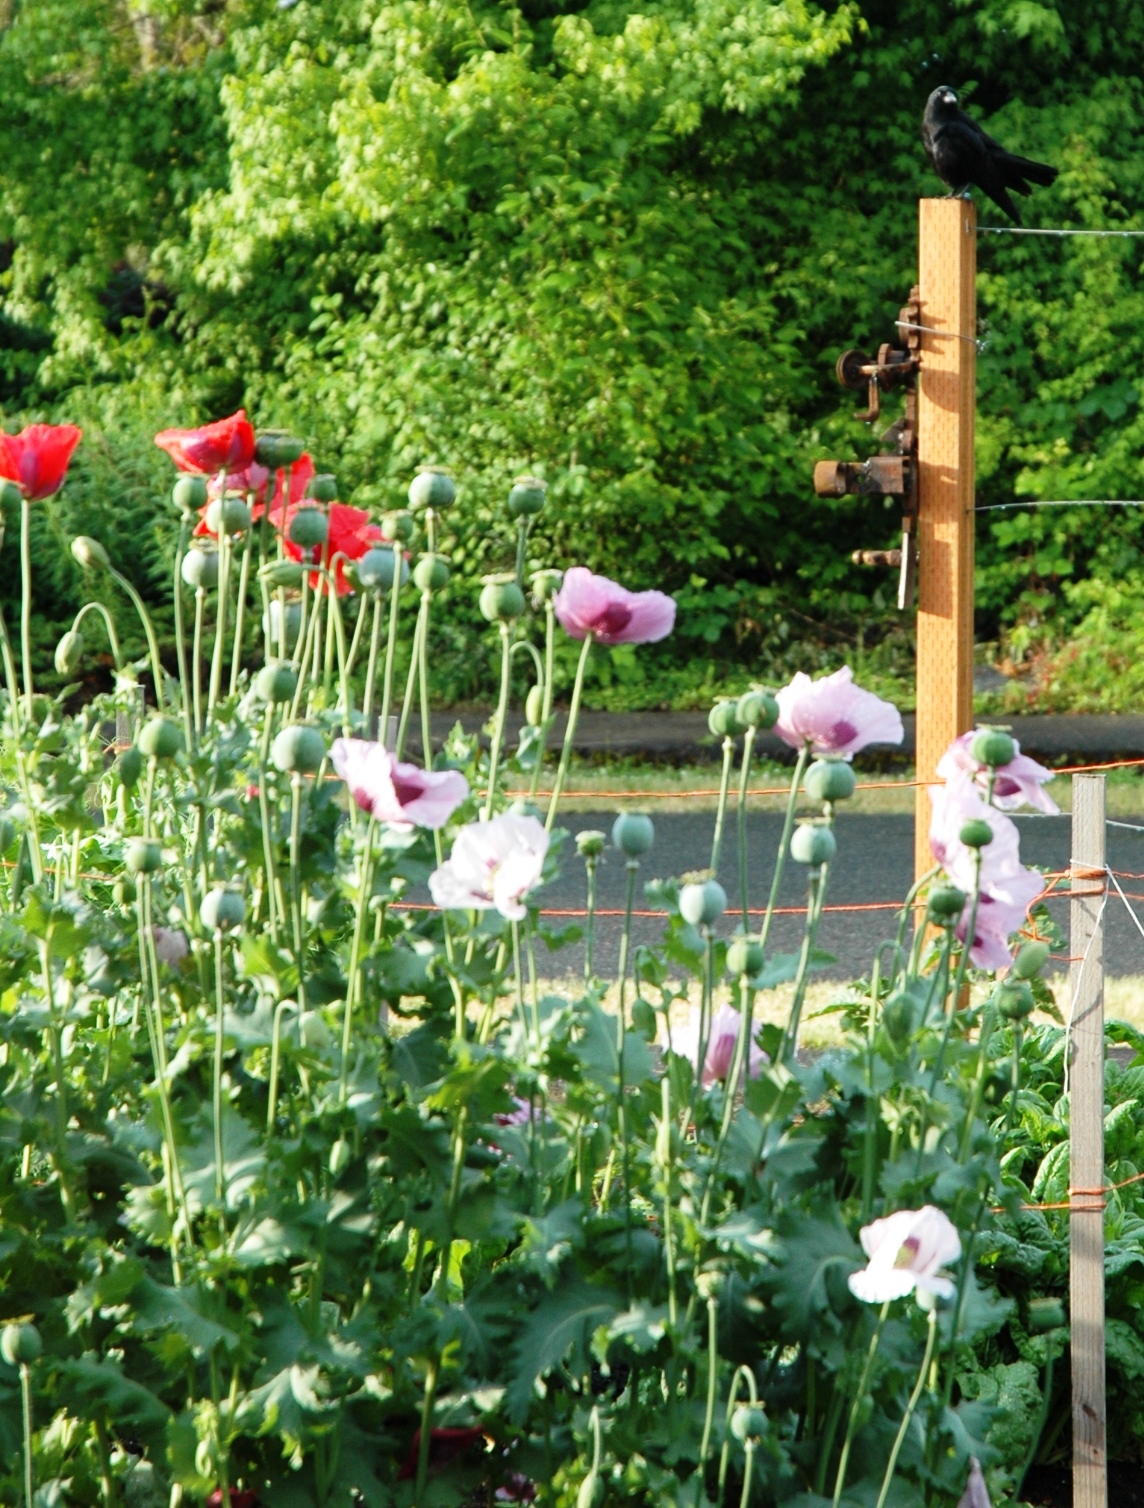
| Resident Crow surveying the garden |
Tuesday, June 28, 2011
Saturday, June 25, 2011

Sunday, June 12, 2011
Cone of Plenty
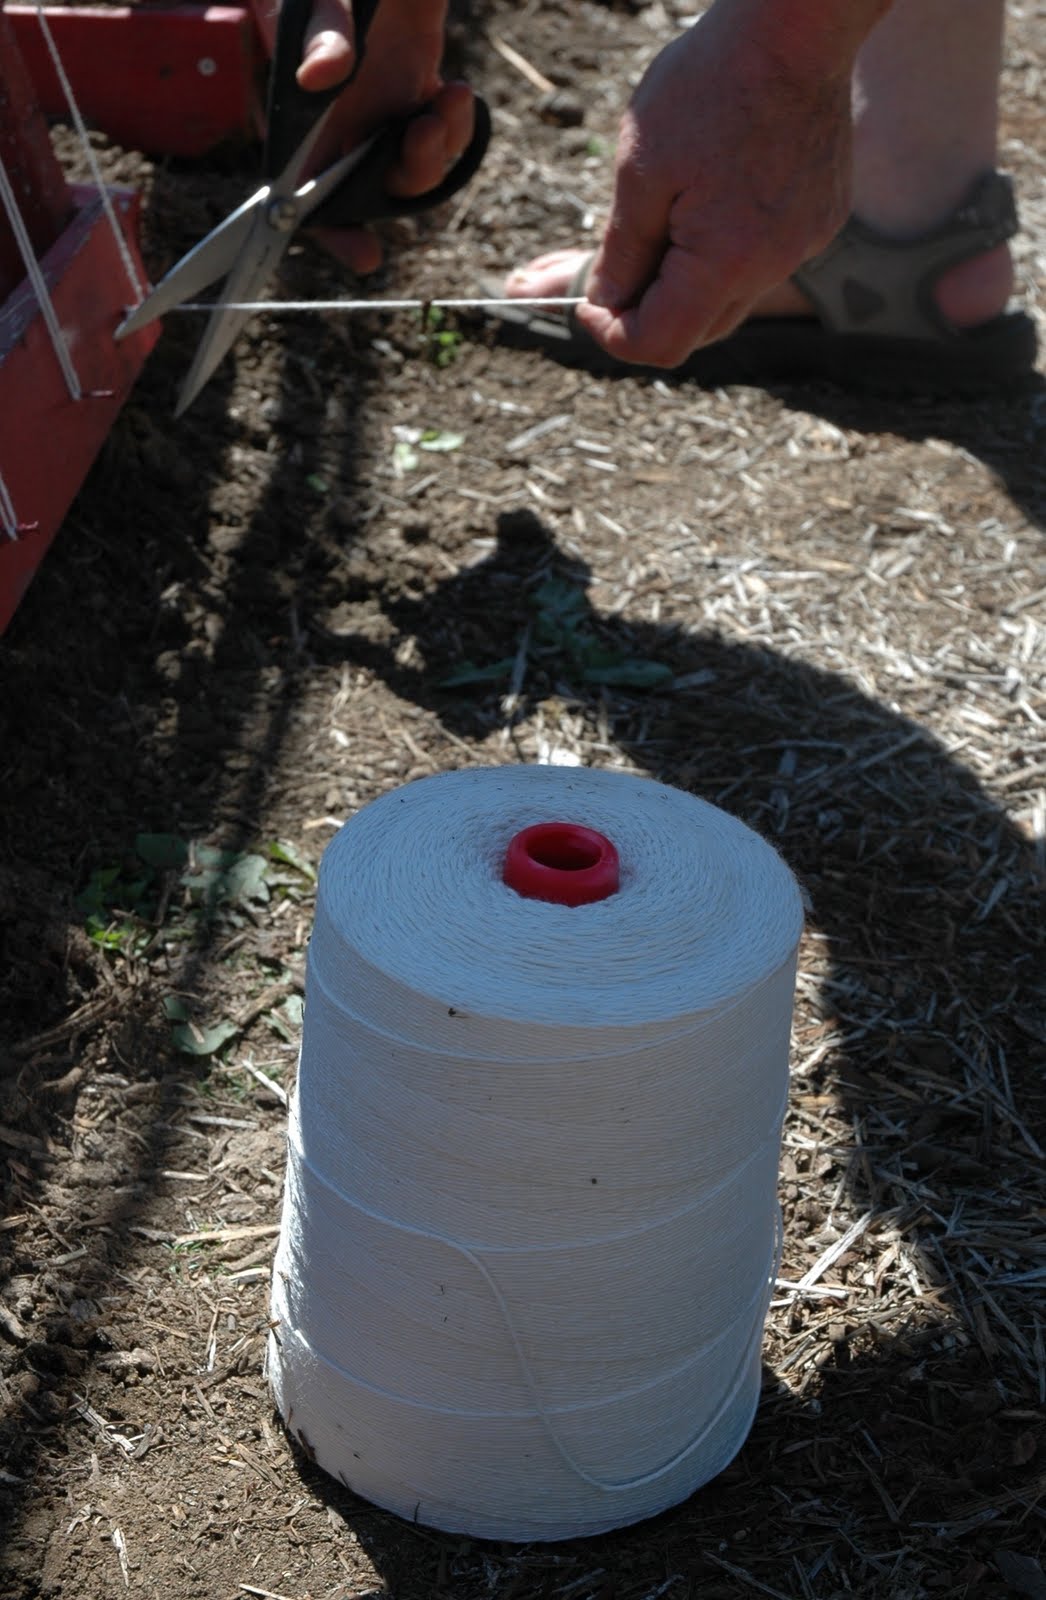 Ginormous cone o' string
(or perhaps even next year and the year after that)
Saturday, June 11, 2011
Potato Blossoms and Bindweed
 potato blossom with bonus field bindweed
The potatoes that Charlie planted back in February are starting to bloom. I think these are the fingerlings, but I don't know for certain because someone neglected to make up labels as they were planting. ::cough, cough, Charlie, cough::
We used the potatoes that we grew last year that somehow escaped being eaten for dinner and sprouted quietly in a corner of the basement.
These were planted in a trench and then hilled two or three times as the vines grew up. We'll harvest the potatoes once they're done flowering and the vines start to die back.
At one point I was concerned that the vines were developing a blight because the leaves looked singed and crispy, but the vines bounced right back and look nice and healthy now so, in retrospect, I think it was just the really unseasonably cold weather we had this spring.
The field bindweed* that you see amongst the potatoes is a real problem in our area and the end of the garden where the potatoes are this year has the heaviest bindweed infestation. I plan to clear out this area after the potatoes are harvested and work on eradicating this weed with some focused weeding and root removal followed by a late summer/early fall application of RoundUp.
 Field Bindweed (Convolvulus arvensis)
We usually rely on persistent manual weeding and root removal to clear out an area (which is exactly how we cleared out the huge patch of ivy in the back yard after we bought this house), however bindweed is very challenging to clear out this way and even if one is really dedicated it only provides limited (and usually temporary) success. Missing just a couple of bits of vine allows the roots to quickly regrow and a single, tiny piece of root will rapidly produce miles of vine that quickly overwhelm other plants, being nearly impossible to remove without damage to the desirable plant.
 Field bindweed in perennial fuchsia
So just how difficult is field bindweed to control?
Here's an excerpt from the link about field bindweed above:
That's why I like to combine manual removal (to weaken root reserves) with a carefully timed, light application of RoundUp. RoundUp gives really good results if used in the late summer or fall when the plant is storing energy and nutrients back down to the roots. If applied earlier in the season, the plant is growing from the root and will quickly recover from the initial die-back, requiring multiple applications. My goal is to kill the bindweed while using as little chemical spray as possible.
* also often referred to as morning glory, wild morning glory, European bindweed or creeping jenny
We used the potatoes that we grew last year that somehow escaped being eaten for dinner and sprouted quietly in a corner of the basement.
These were planted in a trench and then hilled two or three times as the vines grew up. We'll harvest the potatoes once they're done flowering and the vines start to die back.
At one point I was concerned that the vines were developing a blight because the leaves looked singed and crispy, but the vines bounced right back and look nice and healthy now so, in retrospect, I think it was just the really unseasonably cold weather we had this spring.
The field bindweed* that you see amongst the potatoes is a real problem in our area and the end of the garden where the potatoes are this year has the heaviest bindweed infestation. I plan to clear out this area after the potatoes are harvested and work on eradicating this weed with some focused weeding and root removal followed by a late summer/early fall application of RoundUp.
 Field Bindweed (Convolvulus arvensis)
We usually rely on persistent manual weeding and root removal to clear out an area (which is exactly how we cleared out the huge patch of ivy in the back yard after we bought this house), however bindweed is very challenging to clear out this way and even if one is really dedicated it only provides limited (and usually temporary) success. Missing just a couple of bits of vine allows the roots to quickly regrow and a single, tiny piece of root will rapidly produce miles of vine that quickly overwhelm other plants, being nearly impossible to remove without damage to the desirable plant.
 Field bindweed in perennial fuchsia
So just how difficult is field bindweed to control?
Here's an excerpt from the link about field bindweed above:
In its first year it can grow from seed into a plant with a root system five feet deep and ten feet in diameter with many plant shoots. Each plant will store nutrients in the root system that can reach depths of greater than fifteen feet and will grow new plants wherever the root is broken.(emphasis is mine)
Each plant can produce as many as 500 seeds that can sprout for over 5o years.
That's why I like to combine manual removal (to weaken root reserves) with a carefully timed, light application of RoundUp. RoundUp gives really good results if used in the late summer or fall when the plant is storing energy and nutrients back down to the roots. If applied earlier in the season, the plant is growing from the root and will quickly recover from the initial die-back, requiring multiple applications. My goal is to kill the bindweed while using as little chemical spray as possible.
* also often referred to as morning glory, wild morning glory, European bindweed or creeping jenny
Monday, June 6, 2011
Weekend Progress 6/05/2011
Just a quick Monday morning post on the weekend activity. I worked in the garden until 6:30 pm and, as usual, after dinner I just did not have the energy to go back to the office and sit at the computer to write a garden update.
I'm still trying to get caught up on the planting, hopefully the end of this week will find the garden back on track.
I planted pole beans, cucumbers, *another* planting of snap peas (third time's a charm?) and more lettuce and greens. I also thinned and fertilized the broccoli. I still need to thin the onions.
Weekend Before and After:
 June 3, 2011 (my weekend starts on Friday)
 June 5, 2011
I think I need to pick a different location to take the weekly photos. These two shots are both taken from the sidewalk at the end of the driveway. The combination of the location and the wide angle of the camera lens is making the trellises look a bit off-kilter and tilted. They look straight in real life.
The green trellises on the right are for the cucumbers.
The unlovely pile of lumber in all of these shots is for the test fence section that we need to build. Charlie and I did some sample layouts on Memorial Day weekend and (finally) decided on a pattern so now we just need order the remaining supplies and get started.
Here's a slightly different shot of the garden from the driveway next to the house:

The hoop house is covering the broccoli and cabbage. We seem to get a LOT of cabbage moths here and even though I'm diligent about regularly checking the leaves and hand picking the caterpillars and the eggs, there is always one or two that escape execution and they can cause significant damage when the plants are young and the leaves are small. This is our first attempt at using floating row cover (Reemay) to prevent insect damage so Charlie and I are both really interested to see how it works out.
We need to build a second hoop setup over the carrots (the bed to the left in the photo above) this week because I want to prevent a repeat of last year's carrot fly infestation that rendered a lot of the carrots inedible.
I'm still trying to get caught up on the planting, hopefully the end of this week will find the garden back on track.
I planted pole beans, cucumbers, *another* planting of snap peas (third time's a charm?) and more lettuce and greens. I also thinned and fertilized the broccoli. I still need to thin the onions.
Weekend Before and After:
 June 3, 2011 (my weekend starts on Friday)
 June 5, 2011
The green trellises on the right are for the cucumbers.
The unlovely pile of lumber in all of these shots is for the test fence section that we need to build. Charlie and I did some sample layouts on Memorial Day weekend and (finally) decided on a pattern so now we just need order the remaining supplies and get started.
Here's a slightly different shot of the garden from the driveway next to the house:

The hoop house is covering the broccoli and cabbage. We seem to get a LOT of cabbage moths here and even though I'm diligent about regularly checking the leaves and hand picking the caterpillars and the eggs, there is always one or two that escape execution and they can cause significant damage when the plants are young and the leaves are small. This is our first attempt at using floating row cover (Reemay) to prevent insect damage so Charlie and I are both really interested to see how it works out.
We need to build a second hoop setup over the carrots (the bed to the left in the photo above) this week because I want to prevent a repeat of last year's carrot fly infestation that rendered a lot of the carrots inedible.
Sunday, June 5, 2011
Many Parts Are Edible

Or:
What would Euell Gibbons eat?
Sure, good old Euell liked to stalk the wild asparagus, thought GrapeNuts tasted like wild hickory nuts, and tried to convince us that many parts of pine trees were edible (notice that he never said they were actually *tasty*, just edible), but would how do you think he would feel about a nice pan of scrambled Fuligo Septica?
Charlie discovered an odd-looking volunteer in the garden the other day near the raspberries. We both thought it was some sort of fungus but it turns out it’s actually a slime mold* even though, rather confusingly, it goes by the common name of ‘Dog Vomit Fungus.’
It just so happens that our recent weather was just about textbook perfect for being conducive to the development of this slime mold; a bout of drenching late spring rain followed by warmer weather. Combine that with our generous use of hog fuel mulch and you get a perfect slime mold nursery scenario.
Had I realized the interesting progression of the slime mold, I’d have taken a series of photos that showed the dramatic development, oh well, maybe next time. Instead you get a photo that shows the slime mold as it moved from the colorful, quickly creeping phase into its less interesting ‘drying up so I can disperse spores and take over the world’ stage:

Here’s a photo that I borrowed from the Dog Vomit Fungus Pictures and Information page that shows the colorful early stage (also? It grows and creeps rather quickly at this stage)

According to a Chicago Tribune article, Dog Vomit Fungus is edible and native people in some parts of Mexico gather it and scramble it like eggs for a dish called ‘Caca de Luna’ (essentially, moon poop).
I think you really have to respect the imagination and sense of adventure
Thankfully, slime molds aren’t harmful in the garden, which is good since there isn’t really any way to prevent them.
So there you go, we do the research so you don’t have to!
*and even more confusingly, slime molds aren't actually a mold (a type of fungi) either.
Subscribe to:
Posts (Atom)